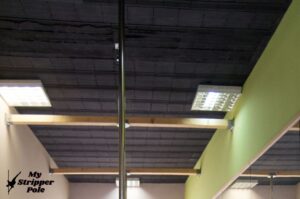
Check if your ceiling is strong enough to hold the weight of the pole
If you’ve chosen a freestanding bar, this step can be skipped.
There are a few things to consider for tension and pressure poles or fixed mounts.
All areas should be sturdy enough for installation if your ceiling is concrete.
If it consists of metal rafters, joists, and boards, you’ll need to place the pole under a girder or beam for extra support.
You can use a stud finder or tap the ceiling to check – solid-sounding taps indicate rafters or joists.
For more information, please read my post about the ceiling for the stripper dance pole.
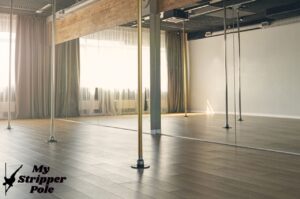
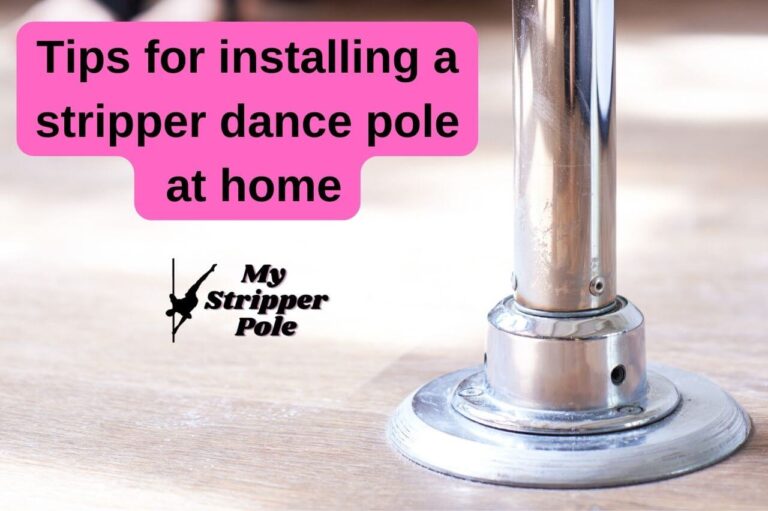
Choose a suitable material
There are many different types of stripper poles available, so make sure you pick one that’s right for your needs and budget.
With so many types of stripper poles on the market, it’s hard to know where to start.
Selecting the right pole can make all the difference between before-show jitters and post-performance glory.
Before taking the plunge, consider the material best for your needs and budget. For example, most stripper poles are made from either brass or stainless steel.
Brass poles come in various sizes but tend toward scratches, so keep them clean and protect them!
Stainless steel needs less upkeep and won’t rust but can be slippery when dancing.
Choose wisely – that perfect pole waits for no diva!
Following instructions carefully is essential when it comes to installing a dance pole.
Begin by ensuring you have all the necessary pieces listed in your manual.
Then, follow the instructions to assemble and secure the pole in its location.
Contact the pole manufacturer if you’re unsure about any of these steps.
That way, you can be confident that your setup is safe and ready for you to show off those moves!
Get a professional to install it – unless you’re confident in your DIY skills.
Sure, you might be good at fixing a leaky tap and think putting up a stripper dance pole is just another DIY task.
But when it comes to stripper poles, you’d be crazy not to call in the specialists.
You won’t want your stripper pole falling mid-routine!
Professional stripper pole installers possess the necessary skills and know-how and have all the tools to ensure your stripper pole is firmly rooted.
Booking an installer can be money well spent, so why is it a risk?
Save yourself the hassle and snap up an experienced stripper pole installer before your next party!
But don’t get me wrong, You can do it yourself – and actually, if you are not scared to take it as a challenge – It’s not that hard to install it alone.
You can always ask friends or family who have an excellent hand to come and help you – or you can read my step-by-step guide about installing a stripper dance pole.
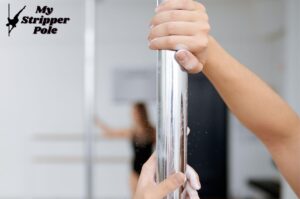
Before showing off those moves, it’s essential to ensure your dance pole is installed safely.
Start by checking tight fastenings and joints with the Allen key or tool provided.
If you’ve chosen a tension and pressure pole, check that the rubber on each end provides enough grip by applying pressure at the bar’s top, middle, and base – you should feel no movement or slip.
Finally, for permanent ceiling mounts, check that everything is adequately secured.
Once you’re confident in your installation, it’s time to shine!
Have fun!
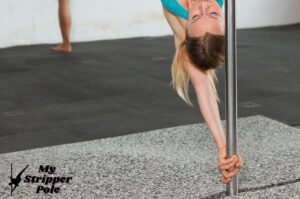
Once you’ve installed your stripper pole, it’s time to enjoy it!
Try out some new moves and get ready to strut your stuff.
Now that you’ve got your stripper pole installed, it’s time to have some fun!
Show off your moves and get ready to strut your stuff.
Just remember, the key to excellent performance is confidence. So let loose and enjoy yourself. After all, that’s what stripper poles are for!
In conclusion
There’s a lot to consider when selecting and installing a stripper pole.
But with the suitable material, careful installation, and confidence in your performance, you’re guaranteed to feel like a superstar every time you step onto that pole!
I hope you found this helpful guide and that you can make the most of your dancing experience.
Feel free to leave me a comment and tell me if you have other tips and advice – I would love to read them!
And make sure to read my other blog posts on my website.
Until next time, happy spinning!